When I started thinking about how to redo our guest bath and what to put on the cedar shelves, I knew I wanted some sort of apothecary jars. I started looking online for some, but soon realized they were way out of my price range. However, I remember saving a pin on my Recycling, Reusing, & Repurposing board on Pinterest on how to make homemade apothecary jars. So I looked at that pin for inspiration as I decided to make my own.
 |
| Picture via Pinterest saved from Decorating-Time.com |
I started this project by looking at all the food jars we had in the house. Looking for the shape and size I wanted. As we used the food in the jars, I would save them until I decide which ones would work the best. I ended up with a Barilla marinara sauce jar and two pickle jars. I washed them well and let the air out for several weeks. Next, I soaked them in soapy water for a few days to remove the labels and the glue they were attached with. It took a little elbow grease but eventually I got all the gunk off of them.
 |
| One of the two different kinds of pickle jars I used. |
As the jars were airing out and soaking, I went to Hobby Lobby looking for some sort of knob to go on the top. I looked at various pegs, dowel tops, finials, and candle cups until I decided on what looked just right. I choose 1 1/4" birch candle cups. I also looked at candle sticks to put the jars on, but decided against that because it would make them too tall to fit in the shelves.
 |
| Picture via Hobby Lobby. |
The next step was to decide on what color to paint the tops and the candle cups. I couldn't find a green or blue to suit me and I kinda of had black in mind right from the start. So I landed on a black Krylon spray paint in a satin finish.
 |
| Picture via Walmart.com |
Once I had all my supplies together, I was finally able to get started. I spray painted the lids and candle cups several times. The metal lids were a little difficult to paint, but once I applied the right amount of paint layers to them, they turned out great.
 |
| The lids all painted. |
Glue gun fun was the next step. I glued the candle cups on to the lids with the hole part facing down and let them set up.
 |
| The candle cups turned into knobs for the tops of the jars. |
When the glued set up really well, I filled the jars with various items and then they were ready to go on the shelves.
 |
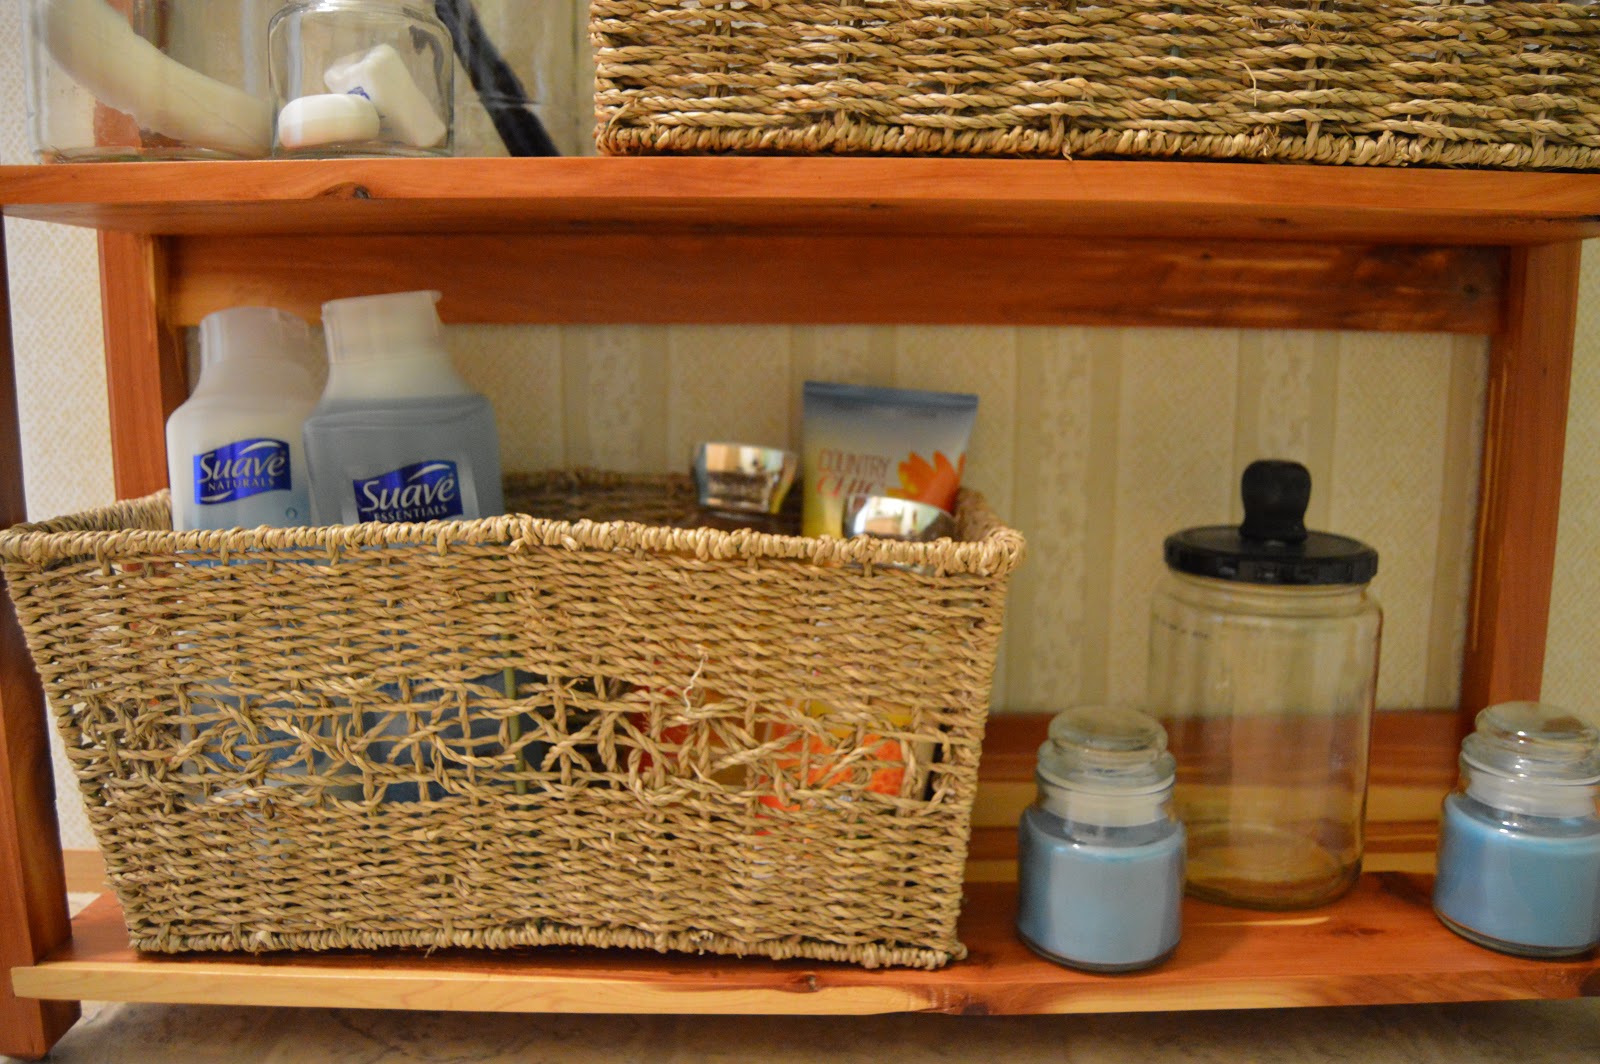
| All ready for their new home. |
I was very pleased with the way they turned out. I have also got a lot of compliments on them. The only bad thing I have to say is that with the humidity in the bathroom I have had to reglue the knobs on top, but that is no biggy. They fit in well with the other decor and look nice on the shelves.

Homemade apothecary jars are simply a good thing!
No comments:
Post a Comment